Modifying dining table into hall table
Aug. 24, 2020
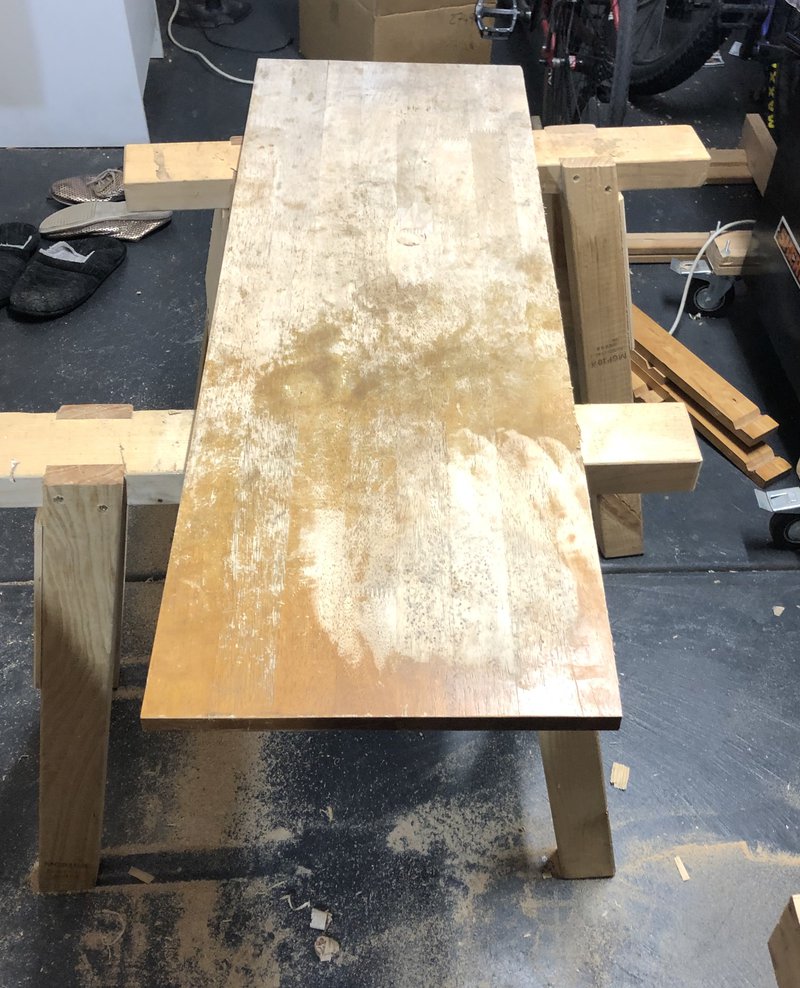
While I was out for one of my daily sanctioned <1hr rides, I saw this table sitting in an alley way.
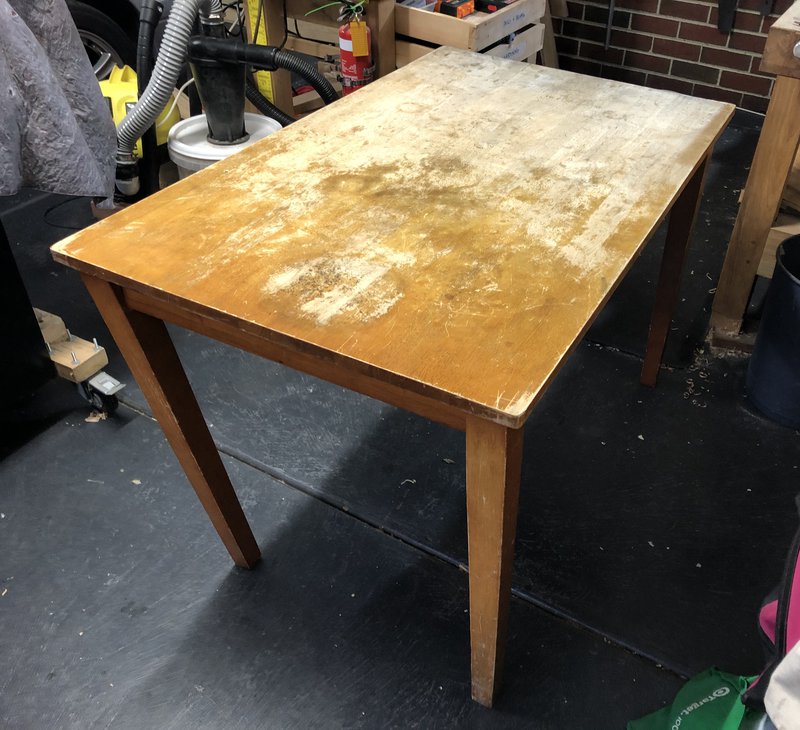
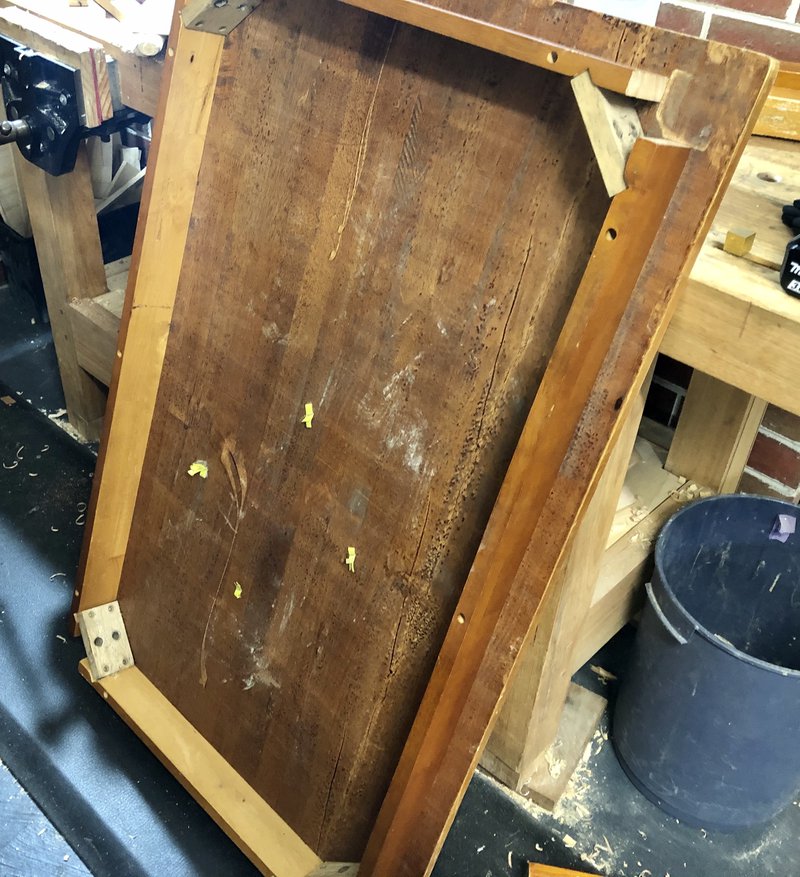
It was very wobbly, but checking underneath showed that the brackets should be in good shape and it should be structurally recoverable. Half the top is badly sun-bleached, but hopefully it only bleached the finish and not the wood underneath.
The table's not really big enough to be a dining table, so the plan was to turn it into a hall/entry-way table. No major modifications apart from cleaning it up and making it a bit smaller. Fortunately because of the design and the use of screws it should be easy enough to disassemble, shorten the aprons and re-assemble. I could have morticed the aprons into the legs but I wanted to get this done relatively quickly, and the fit/finish of the existing brackets was pretty good and didn't rely on hardware any more complex than screws.
Removing the Finish
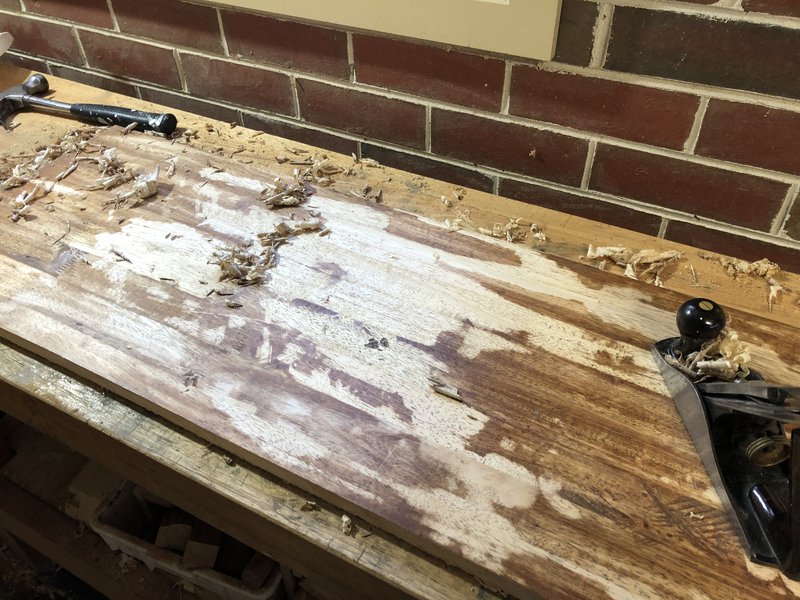
I used a combination of planes and scrapers to get the finish off. Scrapers were great for where it had thinned out and was fragile, but the planes were required for the very thick finish applied to the top.
You can see how well a nice sharp scraper works for taking off finish quickly:
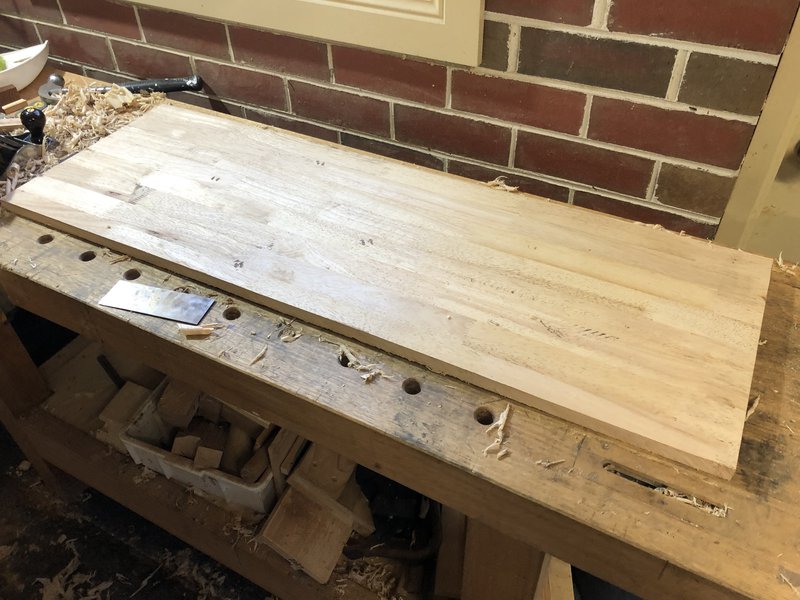
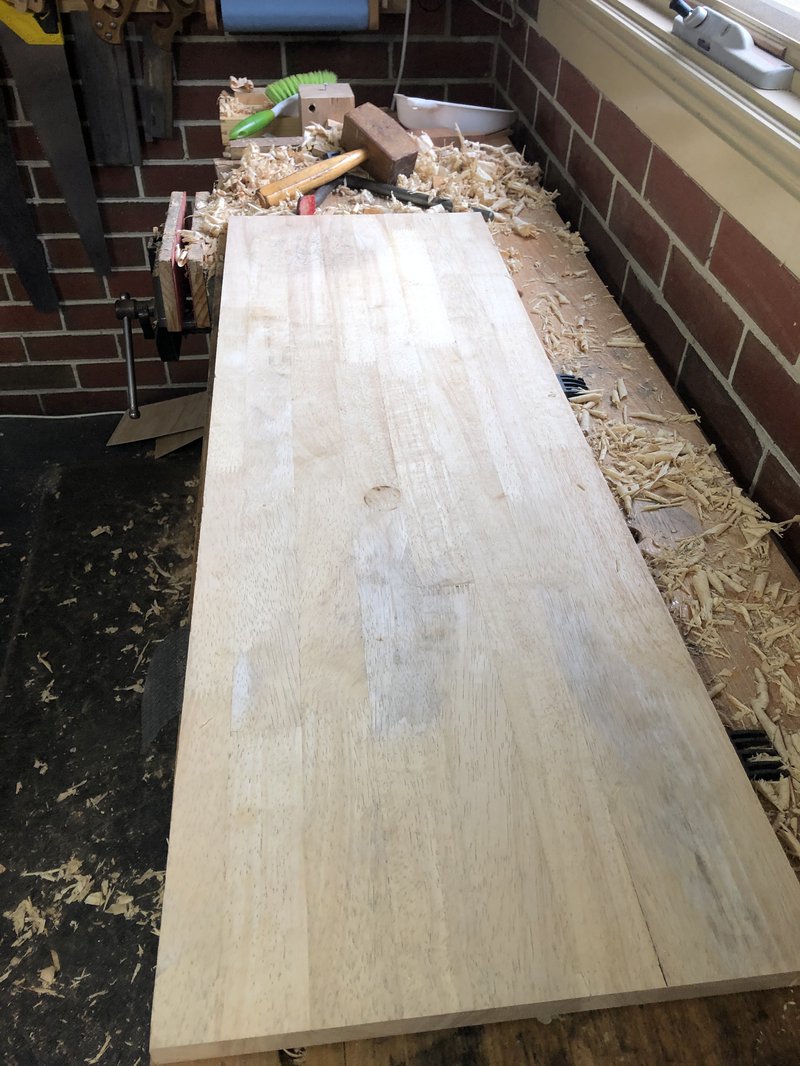
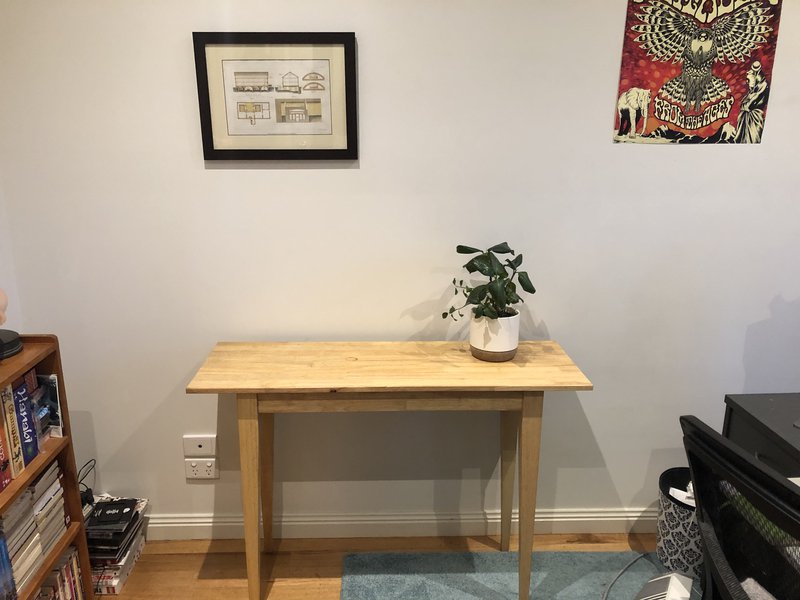
Making it Smaller
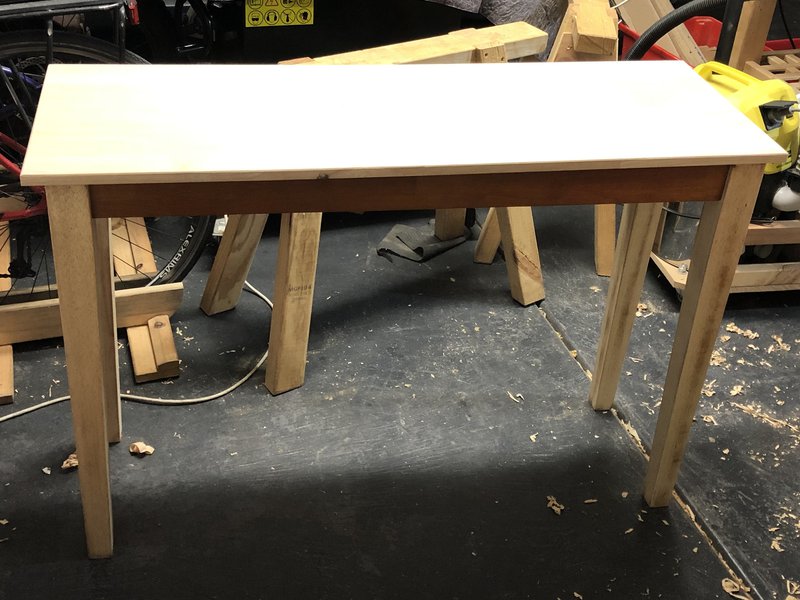
I cut down the top and the aprons to a new approximate size for a hall table. This also meant I could cut off the worst of the failing joints. There was only one left I couldn't really avoid, so I filled it with wood filler. There were also some really deep heavy duty staples on the underside which required a bit of filler. No one will see them at least.
It looked very awkward having the same overhang on all sides, so I shortened the aprons again to leave a much large overhang on the short edges. I could have also reduced the size of the legs but I didn't want to mess up the bracket geometry, and I planned on tapering the legs more later.
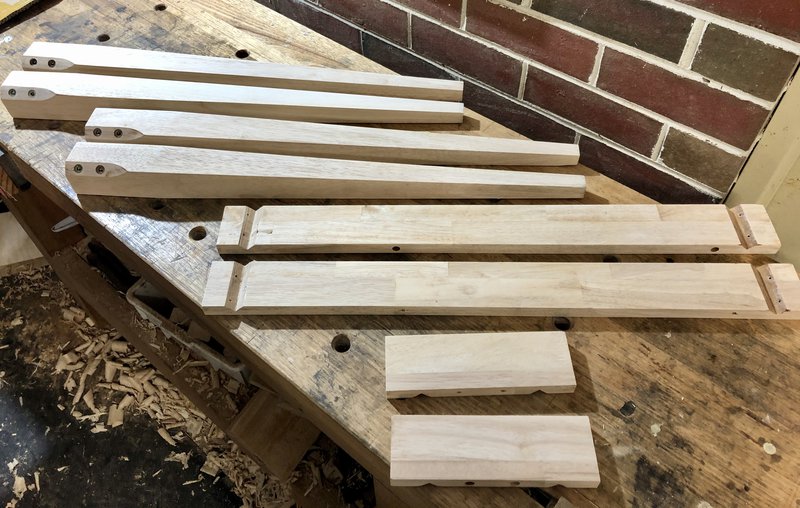
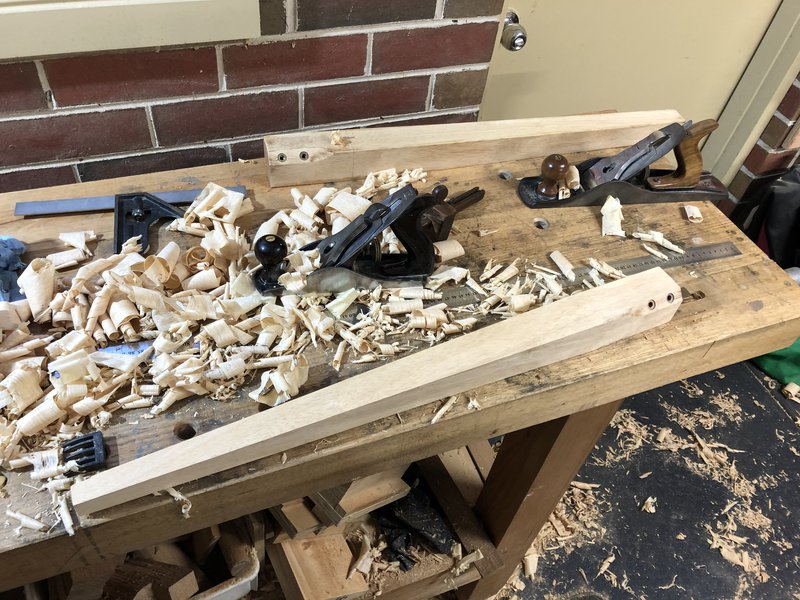
Tapering the legs
I'm a huge sucker for tapered legs, and most furniture I have built features this. It seems relatively uncommon these days, and I think it lightens the look of anything it's used in. It should work fairly well on this table since the aprons are so narrow and the top is thin. I also put a slight taper on the underside of the top to make it appear thinner when viewed face-on.
Tapering was achieved by using a bandsaw to hog off most of the waste, then using the plane to get it to final dimensions. The top part of the leg might be overly thick but I'm not too worried about it.
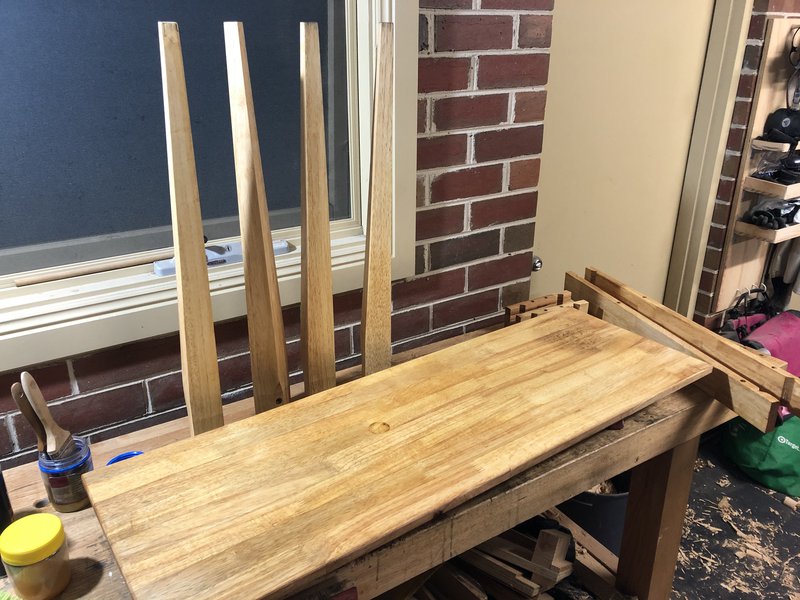
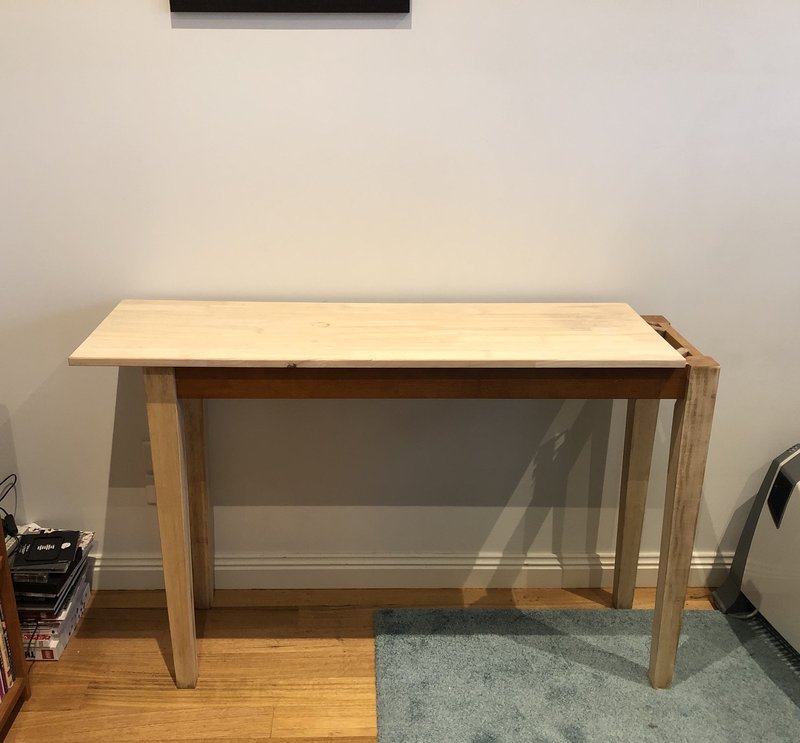
Finish
I decided on wipe-on polyurethane as the finish. I've used it now and then, and wanted something with a bit more protection. I was originally going to go with a stain + varnish product, but after reading Bob Flexner's excellent book on wood finishing, I decided against using it since it would likely produce an uneven finish from the distinct hard and soft layers of wood.
After all the parts were prepped and sanded to 240 grit, I applied a thin sealant layer slightly thinned with a brush. I applied 2 more coats, de-nibbing and lightly sanding between each. Then I applied some home-made paste wax (1 part beeswax, 1 part carnauba was, 3 parts paraffin oil) and buffed to a satin sheen.